Tuesday, March 23, 2010

Altered Mini Notebook

It seems that every time I need something to write on while I am out, I find myself rummaging through my purse. I end up using a ripped piece of a deposit slip or writing on the back of a receipt. I was at the book store the other day and I saw really fancy mini notebooks. Hmm You know I thought I can do that! So tonight I was in a crafting mood, so I looked in my magic crafting stash box. Well I call it that because nothing that ever comes out of that box ever looks the same. It gets glitterfied or some other crafty technique.  I decided while I was making it that I would do a tutorial on how to make one and you can stop writing on those receipts.

You will need:

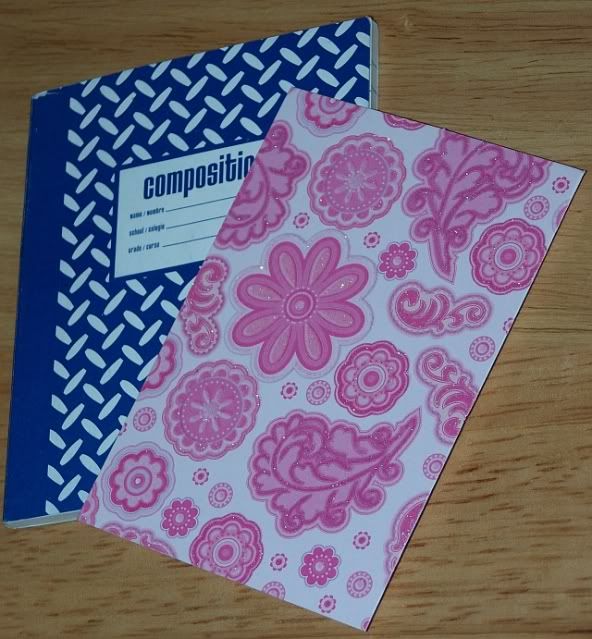
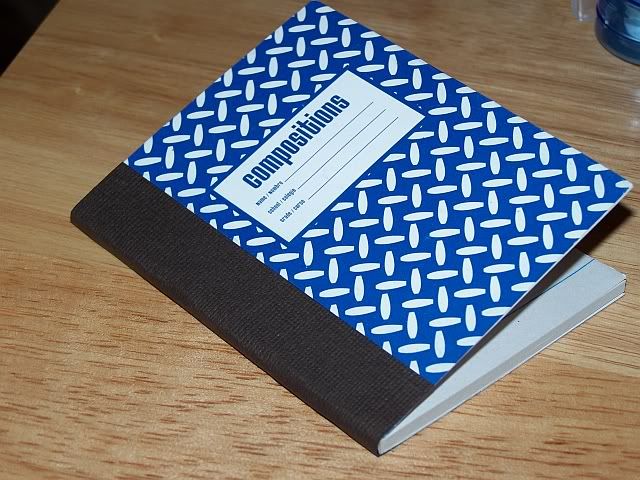
1- Mini notebook- 4 1/4 x 3inches
(I got a small pack of three at the dollar store)
2- Pcs of cardstock patterned paper- 4 1/4 x 3inches
2- Pcs of solid cardstock paper -4 1/4 x 3inches
1- piece of a contrasting color cardstock paper for the spine
  4 1/4x1 1/2 inches
1-Glue tape runner or other strong adhesive

1) Measure your book and cut your patterned cardstock to match the front and back pages of the book.


2) Optional* If your patterned paper is thin you can reinforced the thickness of the front and back flap by using a thin chipboard on the inside of the front and back page, before you begin.


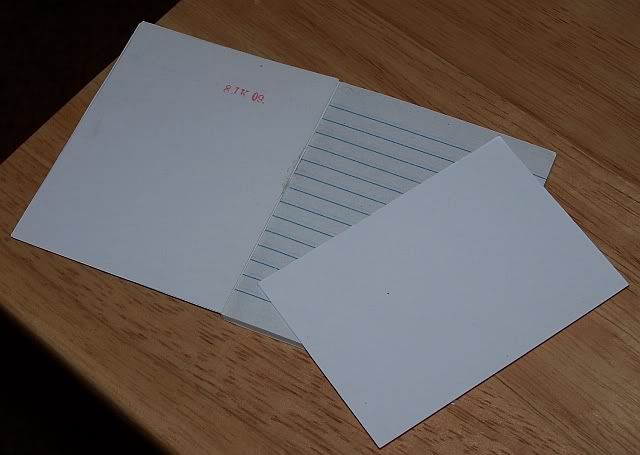
3) Cut the strip for your spine. I did mine in a solid color.


4) Glue the cardstock strip to the spine of the book, try to make sure the front and back of the book have the same amount of cardstock strip.


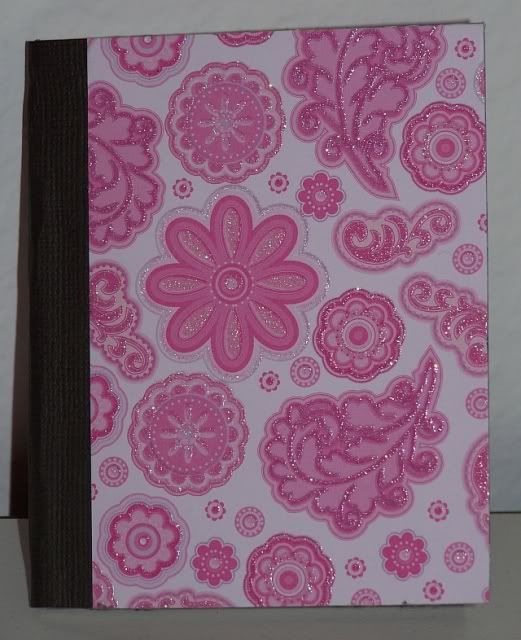
5) Glue the patterned cardstock to the front cover and to the back cover of your notebook, being very careful to line up the edges.


6) Glue coordinating cardstock panels to the inside front flap and inside back flap.
7) There you are! Easy Peasy! You can decorate your book cover further. I didn't because the cover paper was already really pretty.

Friday, March 12, 2010

My Newest Card

This is my newest card it is called a Money Card, it's a gift and a card. It has a nice pocket on the inside for Cash!!!!
I wouldn't mind getting this card myself! Got the idea from my sister, maybe I should send her this card, so she can return it to me with cash? LOL


Saturday, March 6, 2010

Candy Wrappers

It had been awhile since I made these, but I do take custom orders if anyone is interested. I can make wrappers for your business or party. Graduation or baby, wedding showers or party favors for any occasion.

Baby Wrappers


Wedding


Graduation


Business Card Wrappers

Mini Wrappers
I have been featured in Nail Pro Magazine
If your interested email me  at jfmeserve@verizon.net 
the phone number and web addy on the sample photos are no longer in use. I promise to get back to you with a day if you email.


Wednesday, February 24, 2010

Newest Projects

I was looking around last week for some really cute graphics for a greeting card for my daughter, so I went to my recently bookmarked websites. You usually forget what cool stuff is in there that you saved. Kinda like putting things in a drawer for a rainy day. So I remembered I liked the graphics at Gems Cottage I started to look around for something pretty and I found a very pretty set of flowers graphic set called Roses in Winter, which is very fitting for this month and my daughter. I also wanted to get a coffee theme and found a super cute set called Over a Cup of Coffee. I placed my order and hit a snag, but called Gem and it was all fixed within the hour. I got to talking to her and she is just one of the nicest people you could ever meet. She is so helpful and we just hit it off. Did you notice I have updated my blog constantly lately? Thanks to Gem we agreed to keep each other accountable to posting on our blogs at least 1x a week. She just posted to her blog go visit her cool blog at Gem's Blog. Ok so I made a very pretty card and I have some gift card holders to share.

This is the card I made for my daughter using the Roses in Winter Set. I had to embellish it of course with Ribbons, Glitter and a Bow.


Now since I was on a roll with making stuff I found a very cute template for a gift card holder and decided to try my hand at it so here are my versions of those gift card holders.

In this one I used graphics from  pccrafter.com and I used printed scrapbook paper I had on hand, Super cute for a birthday gift card.


Here is the next one where I used Gem's Over a Cup of Coffee Set.


Here is the inside:


There you have it! my cool stuff for today!

Tuesday, February 23, 2010

Cooking up Yumminess

Okay it's been about a month since we made this in January, but I wanted to share the process. My Mother in law invited me to come spend a day with her learning how to make Marmalade. So I made sure to take pictures, so I could share them. Below are the pictures of our fun day together! We bought Seville Oranges, which are very sour and bitter. We had to slice them up thinly.


Making sure to take out as many seeds and possible.


Vera supervised and gave me direction


Even so I managed to cut my finger, not to bad, but wow her knives are super sharp. She also makes a good nurse. LOL got a band-aid and got it all fixed up. That didn't stop our fun, we went on to make our yumminess.

The sliced oranges are now ready to cook.


Time to cook them, kinda starts out looking like orange soup.
They need to cook for quiet a bit of time, while stirring
constantly.


Vera tests the consistency of the marmalade syrup.


Vera test the temperature for doneness


Finally preparing the jars for filling


Look at all those yummy jars


This was a fun project and I learned so much! 
More importantly I got to spend time with my awesome Mother in law! Vera you Rock!

Sunday, February 21, 2010

My Sewing Space

Today I am going to share my sewing space with you. This is another one of my favorite things to do is to sew, but I'd rather do the fun projects vs. the utilitarian stuff like hemming a pair of paints or put in a zipper. I have a Babylock sewing machine and thanks to my wonderful in-laws for helping me buy it. It is my dream sewing machine!


Saturday, February 20, 2010

My Crafty Space

This is my crafty space where I make my cards and do my creative stuff. I picked this up off Craigslist for only $100, what a deal! at the end of the day I can close it up and my living room looks uncluttered by all my crafty crafts.


That is my fun space come back tomorrow and I will show you my Sewing space and some fun sewing projects I have made.