
Wednesday, February 27, 2013

Tuesday, February 5, 2013
Birthday Card
I made a birthday card for my friend's birthday and wanted to share it with all of you. It took me a long time to do some special touches, but she is very special to me, so it was worth it.
 I tea dyed the tag, refer to my post on tea dying to learn how to do this really cool technique.
This tag was 1st stamped with versafine and then Tea dyed, it left an amazing background image.

 This is the Birthday Card. I used a really pretty bronze glitter tape on the tag. I stamped Happy Birthday on the tea dyed tag. The flower on the top right with the white center was hand stained with a bronze metallic paint that I made a wash with. It came out a perfect tan/taupe color.


I antiqued the card by using a sponge dauber and brown distressing ink. The paper on the right is the newspaper I tea dyed and stamped.
 I made a special box card for the chunky card
 In Order from left to right
Amanda, Cindi, Julie (me), Gayle (Birthday Girl)

This tag was 1st stamped with versafine and then Tea dyed, it left an amazing background image.


I antiqued the card by using a sponge dauber and brown distressing ink. The paper on the right is the newspaper I tea dyed and stamped.


Amanda, Cindi, Julie (me), Gayle (Birthday Girl)
Sympathy Card
I am attending a card swap this weekend, this is my sympathy card I we will be making.


Thursday, January 31, 2013
Tea Dyed Tags
I decided to try my hand at tea dyed tags. I have seen them before for sale and all of you know me when I say "I can do that". Any way they turned out really nice. I will add directions below the pictures.
Some came out darker than others, plus I also
dyed a newspaper piece and it turned out really nice.
If anyone has newspapers in another language I would love to get a page!
I will send you a few tags in trade.

This set is the same set, but a better picture.

This picture shows the 3 tags to show the difference between the
undyed paper and the coffee dyed one and the tea dyed one.
The one on the left is tea dyed, the center one is coffee dyed and
the on the right is the undyed one.


Directions:
Once dry I used my iron to heat set the tea stain. If you do this, make sure the have some type of pressing cloth over the tags while you iron. I used a cotton setting and kept my iron moving for just a few seconds on each side.

Some came out darker than others, plus I also
dyed a newspaper piece and it turned out really nice.
If anyone has newspapers in another language I would love to get a page!
I will send you a few tags in trade.

This set is the same set, but a better picture.

This picture shows the 3 tags to show the difference between the
undyed paper and the coffee dyed one and the tea dyed one.
The one on the left is tea dyed, the center one is coffee dyed and
the on the right is the undyed one.


Directions:
- Heat water as you would for tea.
- Add 6/8 tea bags to a glass baking pan.
- Add hot water just to cover the tea bags
- Let sit for 15 minutes, squeeze out the tea bags and throw them out.
- Add your tags or paper, let sit for at least 10 minutes or longer if you want them darker.
- Take them out, lay them on a towel to air dry.
Once dry I used my iron to heat set the tea stain. If you do this, make sure the have some type of pressing cloth over the tags while you iron. I used a cotton setting and kept my iron moving for just a few seconds on each side.
Tuesday, January 29, 2013
Sharing a Friends Talent
Today I am sharing a friends talent, she is very creative and talented. We attended a baby shower this past weekend and had a great time. Here is only one of the items the Mother to be received Home made by my friend Gayle. It's a baby cake made of diapers and it came out so adorable!


Tuesday, January 15, 2013
Sunday, December 30, 2012
Christmas is Over!
Well Christmas is over and now we are getting ready for the new year! Here is something I worked on over the holidays.
Crocheted Fleece Blanket:


Here's how I made this:
1) I bought the fleece at 1 1/4 yards. I bought a special rotary blade called a slipstitch blade. It perforates the fabric.
2) I washed and dried my fabric, cut the fabric to size.
3) Sewed it, right sides together; Perforated it with my slipstich rotary blade. In the pictures the fabric is already perforated because this one I did backwards. it is best to Sew it first then perforate it, you get a more even perforation for your crocheting that way. I drew the curve and cut off the excess, it makes for a nice curve when you turn it to the right side.
4) I left about a 4 inch opening on one side when I sewing it. That way I could turn it right side out and slip stitch the edge closed.
5) Iron Steam the edges after I turned it to the right side, using a low heat on my iron, just enough to make steam and I used a pressing cloth over the fabric. This helped the blanket edges lay flat and it was easier to crochet.
6) Then all you do is crochet the edges.
It turned out very nice and neat! This double fleece blanket is very warm! I found it to be intermediate in difficulty, mainly because there are no instructions on the internet on how to make the double fleece blanket. So I had to figure this stuff out on my own. Also being my 1st time making this there was a small learning curve. All in all I enjoyed it and now I know how to make it and will be ready next year for gifts!


Crocheted Fleece Blanket:

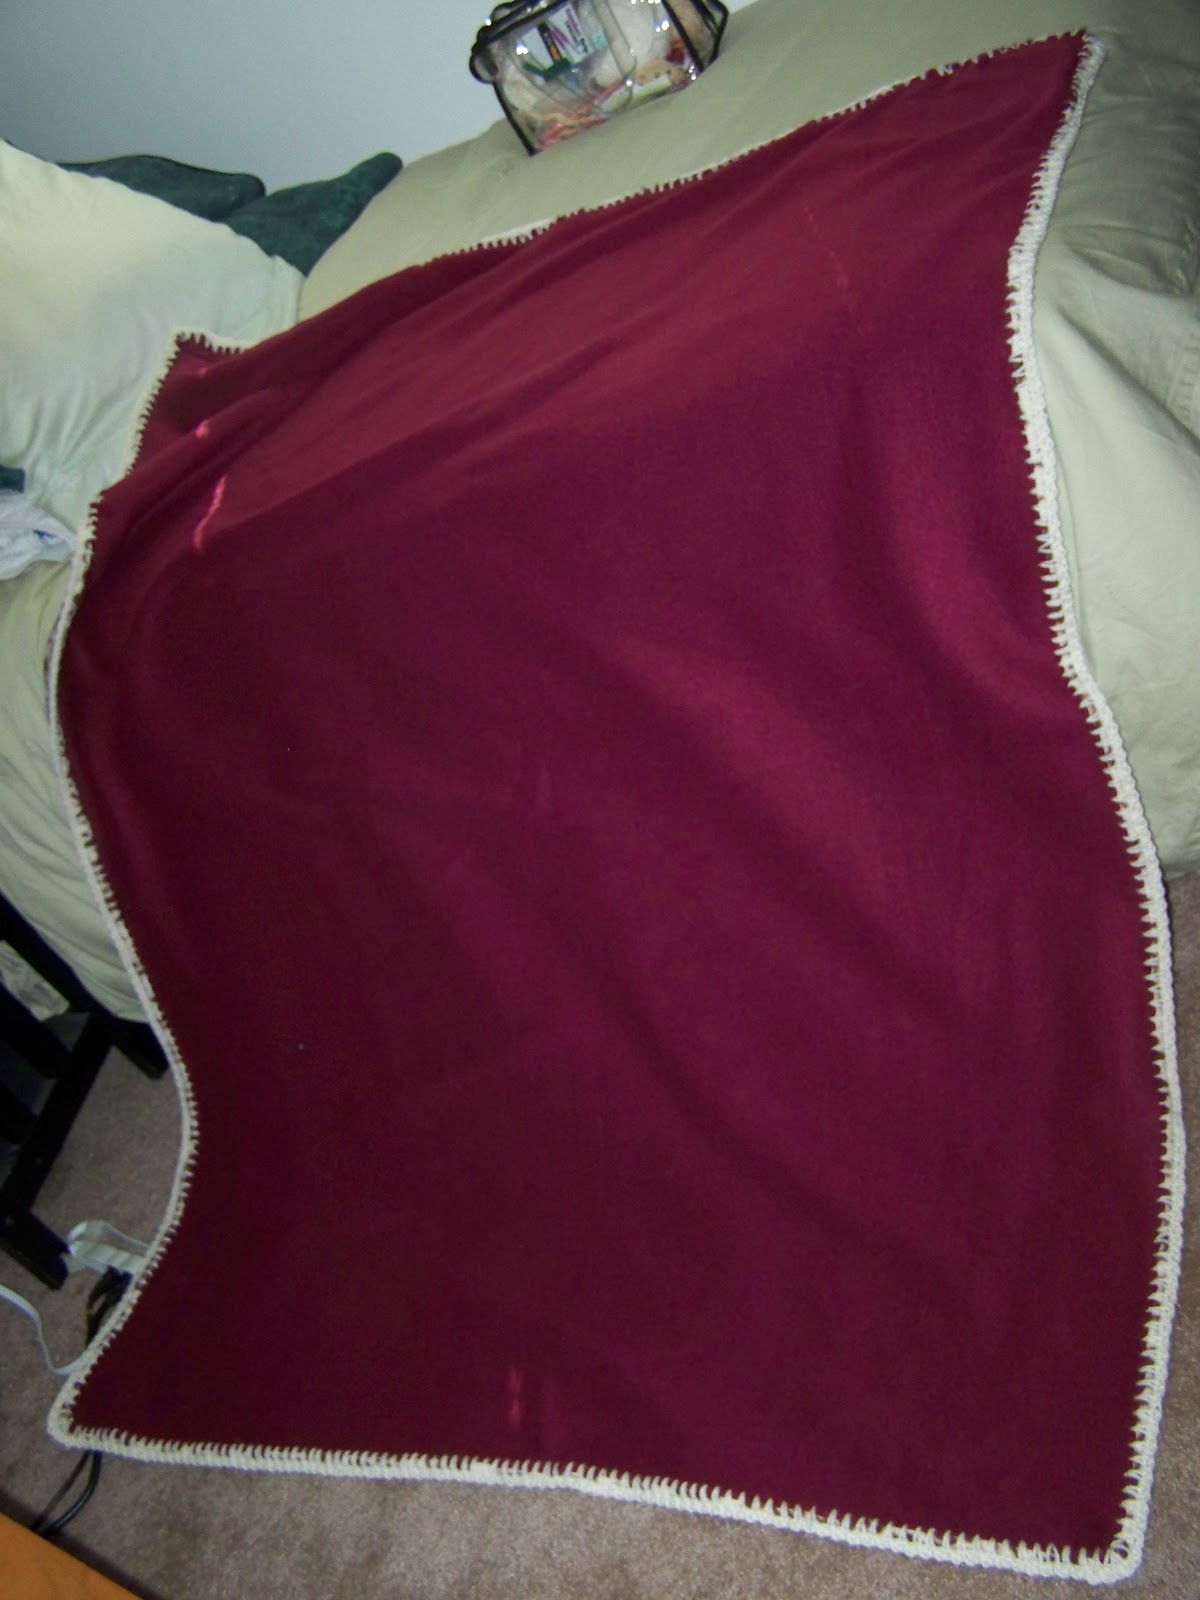

Here's how I made this:
1) I bought the fleece at 1 1/4 yards. I bought a special rotary blade called a slipstitch blade. It perforates the fabric.
2) I washed and dried my fabric, cut the fabric to size.
3) Sewed it, right sides together; Perforated it with my slipstich rotary blade. In the pictures the fabric is already perforated because this one I did backwards. it is best to Sew it first then perforate it, you get a more even perforation for your crocheting that way. I drew the curve and cut off the excess, it makes for a nice curve when you turn it to the right side.
4) I left about a 4 inch opening on one side when I sewing it. That way I could turn it right side out and slip stitch the edge closed.
5) Iron Steam the edges after I turned it to the right side, using a low heat on my iron, just enough to make steam and I used a pressing cloth over the fabric. This helped the blanket edges lay flat and it was easier to crochet.
6) Then all you do is crochet the edges.
It turned out very nice and neat! This double fleece blanket is very warm! I found it to be intermediate in difficulty, mainly because there are no instructions on the internet on how to make the double fleece blanket. So I had to figure this stuff out on my own. Also being my 1st time making this there was a small learning curve. All in all I enjoyed it and now I know how to make it and will be ready next year for gifts!


Sunday, September 23, 2012
Fall is Coming! Raspberry Peach Jam
Fall is coming and I was in the mood to make more Jam!
I had jars left from my not so great attempt this summer at a watermelon jelly. So I decided that I would make a yummy Raspberry Peach jam. The peaches were frozen fresh from the tree. They were given to me by a friend who has a Peach tree. She will be getting a yummy Jar of this jam for Christmas.

The Recipe for this Yummy Jam:
Raspberry Peach Jam
What you need:
Make it

Yummilicious!!!!

I had jars left from my not so great attempt this summer at a watermelon jelly. So I decided that I would make a yummy Raspberry Peach jam. The peaches were frozen fresh from the tree. They were given to me by a friend who has a Peach tree. She will be getting a yummy Jar of this jam for Christmas.
 |
| 2 Cups Peaches / 2 Cups Raspberries |
I mashed up the fruit in my mini food processor.

The Recipe for this Yummy Jam:
Raspberry Peach Jam
What you need:
4 cups prepared fruit (buy about 1-1/2 pt. fully ripe red
raspberries and 1-1/2 lb. fully ripe peaches)
2 Tbsp. fresh lemon
juice
1 box SURE-JELL Fruit Pectin
1/2 tsp. butter or
margarine
6-1/4 cups sugar, measured into separate bowl
6 -8 oz Jars
6 -8 oz Jars
Make it
BRING boiling-water canner, half
full with water, to simmer. Wash jars and screw bands in hot soapy water; rinse
with warm water. Pour boiling water over flat lids in saucepan off the heat.
Let stand in hot water until ready to use. Drain well before filling.
CRUSH raspberries thoroughly, 1
layer at a time. (Strain half of the pulp to remove seeds, if desired.) Measure
2 cups prepared raspberries into 6- or 8-qt. saucepot. Peel, pit and finely
chop peaches. Measure exactly 2 cups prepared peaches into saucepot with
raspberries; stir until well blended. Add lemon juice; mix well.
STIR pectin into prepared fruit
mixture in saucepot. Add butter to reduce foaming. Bring mixture to full
rolling boil (a boil that doesn't stop bubbling when stirred) on high heat,
stirring constantly. Stir in sugar. Return to full rolling boil and boil
exactly 1 min., stirring constantly. Remove from heat. Skim off any foam with
metal spoon.
LADLE immediately into
prepared jars, filling to within 1/8 inch of tops. Wipe jar rims and threads.
Cover with 2-piece lids. Screw bands tightly. Place jars on elevated rack in
canner. Lower rack into canner. (Water must cover jars by 1 to 2 inches. Add
boiling water, if necessary.) Cover; bring water to gentle boil. Process 10
min. Remove jars and place upright on a towel to cool completely. After jars
cool, check seals by pressing middle of lid with finger. (If lid springs back,
lid is not sealed and refrigeration is necessary.) (Recipe by Kraft SureJell)
Yummilicious!!!!

Wednesday, August 22, 2012
Ceiling Fan Redo
Today I decided to redo the ceiling fan in my dining room. It started out as a gross yellow brass color. I had been doing some looking around on line for a color that would look classy and sleek. I found this color at the Home Depot it was under $8. I think that was a great price for the Major change in my ceiling fan. I enlisted the help of my tall and sweet cousin. He took it down for me and disassembled all the parts and put it back up after it was all done.
This is the color:


Dirty, Gross and Ugly! Oh and VERY dated.
I cleaned the fan blades and rubbed it with Old English. The fan blades had an oak finish on one side and a cherry finish on the other. I decided that the cherry finish was so much richer than the oak. So I am having the Cherry finish facing down.


This is the color:


This is the lamp before the redo:


Dirty, Gross and Ugly! Oh and VERY dated.
I cleaned the fan blades and rubbed it with Old English. The fan blades had an oak finish on one side and a cherry finish on the other. I decided that the cherry finish was so much richer than the oak. So I am having the Cherry finish facing down.
I washed all the parts and repainted them:

My Fan Redo! So Much Nicer!

Friday, July 13, 2012
Newest Cards
Sharing my newest cards, I made these for the father of my friend. I lined the envelopes. I don't do this normally. My cards run $5 per card and includes an envelope.


Thursday, June 21, 2012
It's been 6 months

Wow I can't believe it's been six months since I last posted. Since than blogger changed it's set up, so it took me about 20 minutes to figure out what happened here. Since Dec I have had allot of changes and now life is settling down again. Let me post a few pics of what I have been making since December.


So for now that is it, I need to craft more and add more cool stuff!
Subscribe to:
Posts (Atom)