Showing posts with label Sewing. Show all posts

Monday, October 13, 2014

Sewing Projects

Fall is finally here and with that it always makes me want to sew, for some reason. Last week I started sewing some projects I had since the summer. One of them was a really cute apron. I bought the fabric at Beverly's fabric and I decided to back it with a coordinating fabric. It was super easy and I even made a paper pattern from it, for the future.


The next project is sewing little girls dresses for the dress a girl around the world project. I pick up the kits at my church and make the dress and drop off the sewn dress the following Sunday. It's a lot of fun and makes my heart happy to serve the Lord!


Sunday, December 30, 2012

Christmas is Over!

Well Christmas is over and now we are getting ready for the new year! Here is something I worked on over the holidays.

Crocheted Fleece Blanket:


Here's how I made this:
1) I bought the fleece at 1 1/4 yards. I bought a special rotary blade called a slipstitch blade. It perforates the fabric.
2) I washed and dried my fabric, cut the fabric to size.
3) Sewed it, right sides together; Perforated it with my slipstich rotary blade. In the pictures the fabric is already perforated  because this one I did backwards. it is best to Sew it first then perforate it, you get a more even perforation for your crocheting that way. I drew the curve and cut off the excess, it makes for a nice curve when you turn it to the right side.
4) I left about a 4 inch opening on one side when I sewing it. That way I could turn it right side out and slip stitch the edge closed.
5) Iron Steam the edges after I turned it to the right side, using a low heat on my iron, just enough to make steam and I used a pressing cloth over the fabric. This helped the blanket edges lay flat and it was easier to crochet.
6) Then all you do is crochet the edges.

 It turned out very nice and neat! This double fleece blanket is very warm! I found it to be intermediate in difficulty, mainly because there are no instructions on the internet on how to make the double fleece blanket. So I had to figure this stuff out on my own. Also being my 1st time making this there was a small learning curve. All in all I enjoyed it and now I know how to make it and will be ready next year for gifts!


Thursday, August 4, 2011

Headband Sewing Project

I enjoy sewing and Ilove to get creative, this week my stepson asked if I would make his girl a Headband. He picked out all the colors and fabric and we came up with the design together.
I used this varigated purple mottled fabric and really pretty brown and purple paisley fabric and I did a very nice decorative stich # 17 on my Babylock  and it looks pretty darn cool! I'm now working on sewing a coupon holder. I will post that when I'm done!


Close up

Wednesday, February 16, 2011

Birthday Quilt

Well this last weekend my grandaughter had her 10th birthday and this is what I made for her. A Pincess Quilt. She just loved it and I am so happy I was able to make it for her. She had an Alice in Wonderland Birthday party and I added some pictures here. It was so cute and fun for her!


The Back


The Party


Yummy Food Too!


Thursday, April 15, 2010

It's Spring time!

Wow I can't believe I haven't updated my blog lately. It is finally spring and It's funny how busy one can get and then all of a sudden you look back at your week and say where did it go? I want to thank my Friend Gem for Reminding me to update my blog. Gem is another crafty girl , Check out her blog at http://www.gemscottage.com/wordpress/
So today I am going to go back a bit and post a few different things. Let's start with my sparkly nails: I had been in a very PINK mood so I decided 2 weeks ago to do this fun look. Known in the Nail world as Glitter Nails or "Rockstar".


Hopefully by next week I will have changed this out, I am getting bored with it now since I have been wearing them for 2 weeks.

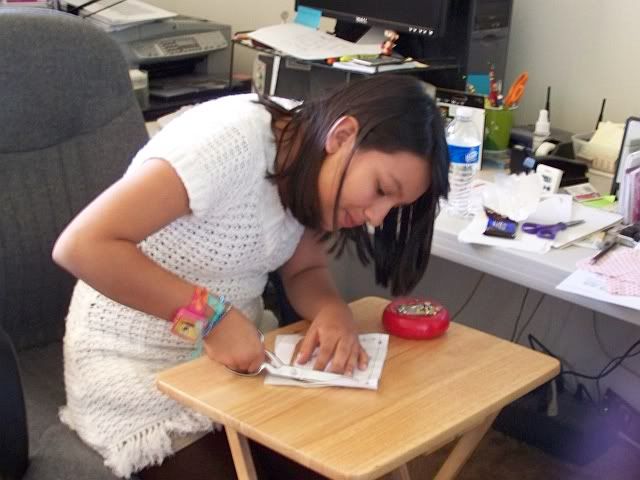
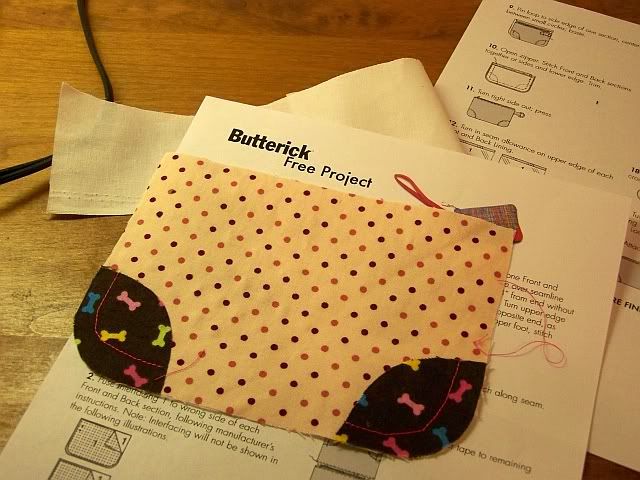
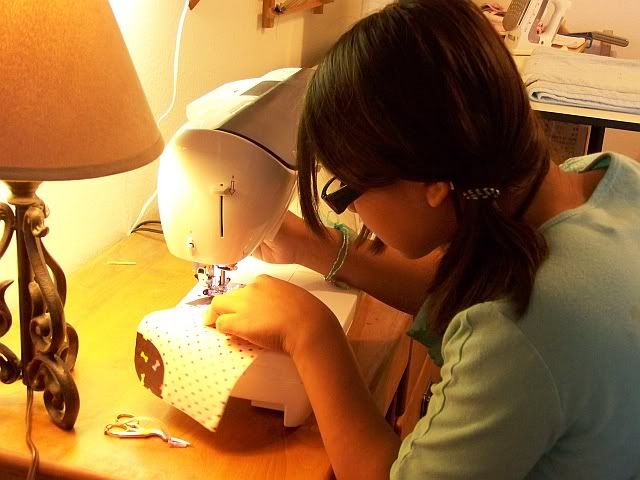
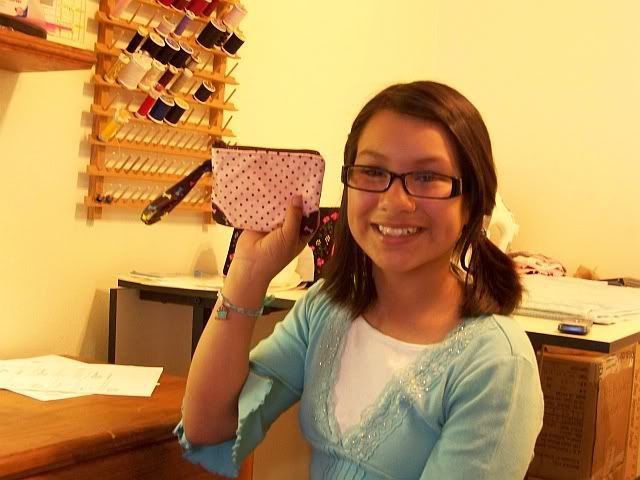
Ok on to my next item. My niece just a smidge before her 12th birthday and I have been sewing together. She is an adorable tween and I love teaching all my crafty stuff. I think I have the inner spirit of a 12 year old girl...I LOVE Glitter! and all things sparkly, my friend Amanda says we are fish (her and I) because we love sparkly stuff.  Last week I was teaching my niece how to sew, so here are pictures of her sewing herself this cute little bag. She even pick out that cute fabric from my fabric stash! Next we are going to sew a super cute Mermaid bottom for her mono fin. I know she will just look adorable! and make a beautiful Mermaid!


All Done! How cute is that?


I just know she is going to grow up to be a super crafter!

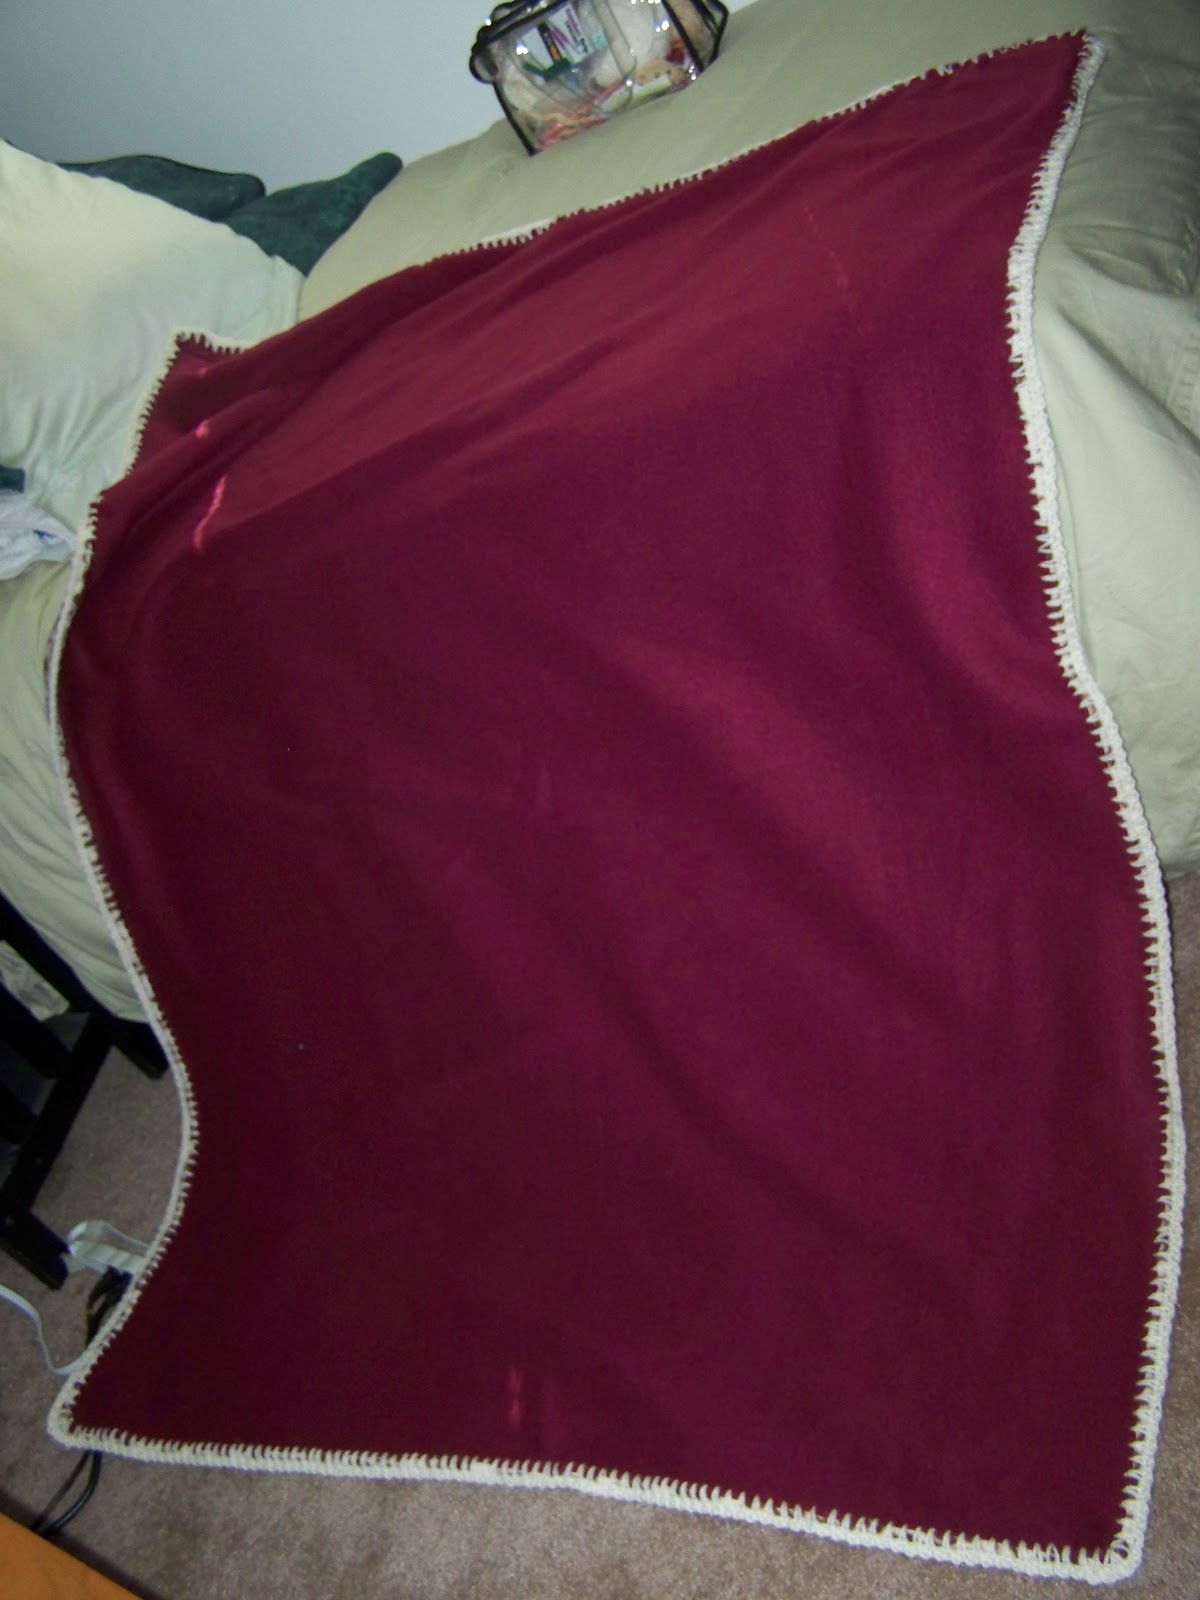
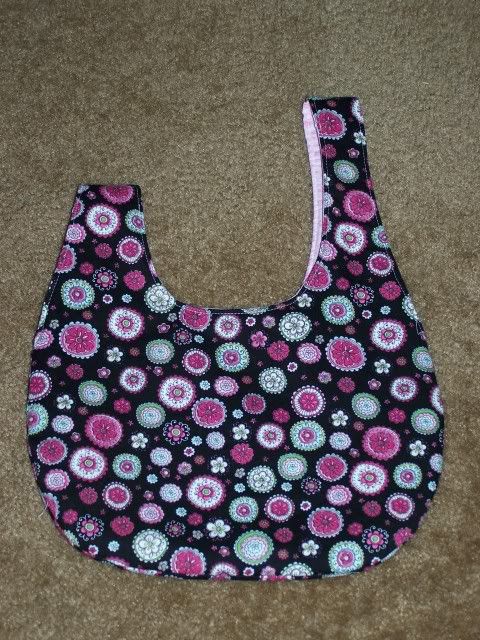
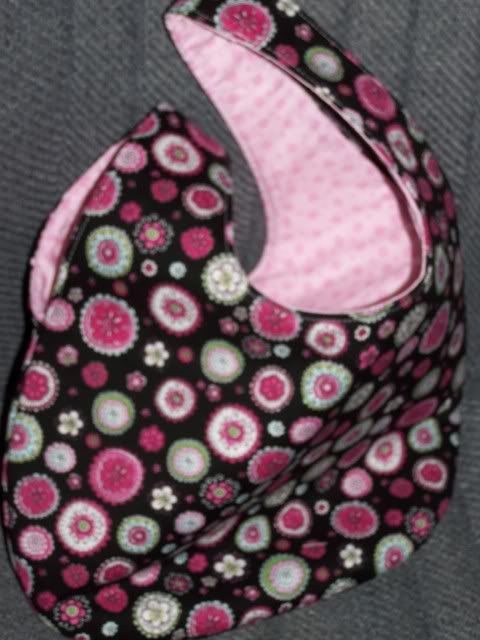
Oh and I forgot to post what I made for my daughter for Easter.
This is supposed to be a small Hobo type purse /bag, but she was in great need of a new make-up bag, yes she can fill this at least 1/2 full with her make-up. It is so cute! I just had to make her one.


I got the free pattern from Allpeoplequilt.com


This is called a Grab bag


Well I guess this week's theme was sewing, next week I will change it up a bit!
Thanks for stopping by!

Sunday, February 21, 2010

My Sewing Space

Today I am going to share my sewing space with you. This is another one of my favorite things to do is to sew, but I'd rather do the fun projects vs. the utilitarian stuff like hemming a pair of paints or put in a zipper. I have a Babylock sewing machine and thanks to my wonderful in-laws for helping me buy it. It is my dream sewing machine!


Saturday, June 6, 2009

Market Bag

I made this market bag today and wanted to share it with those that may want to make one. I originally was going to try it by making one from a vinyl table cloth, well it may work. Don't laugh! Anyway this is my 1st try, so I will make more probably wider than this 1st one. Just to let you all know I have tested it this afternoon at the grocery store and it works well.


Here is what you need to make this bag:

Med Wt. Canvas Fabric:

2 pcs 16x12 inches (Front & Back)
2 pcs 16x9 inches (Sides)
1 Pc 12 1/2 x9 1/2 (Bottom)
2 pc of web strapping (13 inches each)
Sewing Machine
Matching thread to fabric
Scissors
Iron

Getting Started:
1) With right sides together sew front piece to a side piece.


16x12 piece to a 16x9 piece lengthwise as shown.
Sew all 4 panels together.
2.) Sew 4th panel in place.
3.) Fold the 1 1/4 inches from the top of your bag and press with iron,tucking under 1/4 inch of fabric sew about 1/8 from edge across the top of all for connect .


4.) Stitch a 2nd row right 1/4 inch above the 1st row of stitching.


5) Add the bottom panel to the bottom as shown


6.) Sew along all 4 sides at 1/4 inch. Clip corners.


7.) Turn bag to the outside/rightside and stitch 1/8 of an inch along the side seams, ok this needs to be explained. Fold the fabric on the seam and top stitch it together, it will give you a nice little crease that gives the bag a bit more of a box shape.


8.) To add the straps I put one side of the strap about 2 inches from the edge of the bag and about an inch down, just about where the bottom top stitching line is on the top fold on the front of the bag. Pin it in place and stitch it in a square and make an X in the Center of the sqaure. Do that to all straps. Since this nylon webbing frays, I just took a lighter and lit it and sealed the edges to stop any more fraying, do this before you stitch the straps on. Don't do it after or you may burn your bag, LOL yes I did do it after, but VERY carefully.

Hope you enjoyed my tutorial, it's my 1st tutorial, so I hope it makes sense to you.