Showing posts with label Tutorials. Show all posts

Thursday, January 31, 2013

Tea Dyed Tags

I decided to try my hand at tea dyed tags. I have seen them before for sale and all of you know me when I say "I can do that". Any way they turned out really nice. I will add directions below the pictures.


Some came out darker than others, plus I also
dyed a newspaper piece and it turned out really nice.

If anyone has newspapers in another language I would love to get a page!
I will send you a few tags in trade.


This set is the same set, but a better picture.


This picture shows the 3 tags to show the difference between the
undyed paper and the coffee dyed one and the tea dyed one.
The one on the left is tea dyed, the center one is coffee dyed and
the on the right is the undyed one.


Directions:

  • Heat water as you would for tea.
  • Add 6/8 tea bags to a glass baking pan.
  • Add hot water just to cover the tea bags
  • Let sit for 15 minutes, squeeze out the tea bags and throw them out.
  • Add your tags or paper, let sit for at least 10 minutes or longer if you want them darker.
  • Take them out,  lay them on a towel to air dry.
I tried to dry them in the oven at 200 degrees, but I found that they want to curl. So I took them out and dried them on a towel, they curl a bit, but I just flip them over and pat them down as they dry.
Once dry I used my iron to heat set the tea stain. If you do this, make sure the have some type of pressing cloth over the tags while you iron. I used a cotton setting and kept my iron moving  for just a few seconds on each side.

Follow Me on Pinterest


Sunday, December 30, 2012

Christmas is Over!

Well Christmas is over and now we are getting ready for the new year! Here is something I worked on over the holidays.

Crocheted Fleece Blanket:


Here's how I made this:
1) I bought the fleece at 1 1/4 yards. I bought a special rotary blade called a slipstitch blade. It perforates the fabric.
2) I washed and dried my fabric, cut the fabric to size.
3) Sewed it, right sides together; Perforated it with my slipstich rotary blade. In the pictures the fabric is already perforated  because this one I did backwards. it is best to Sew it first then perforate it, you get a more even perforation for your crocheting that way. I drew the curve and cut off the excess, it makes for a nice curve when you turn it to the right side.
4) I left about a 4 inch opening on one side when I sewing it. That way I could turn it right side out and slip stitch the edge closed.
5) Iron Steam the edges after I turned it to the right side, using a low heat on my iron, just enough to make steam and I used a pressing cloth over the fabric. This helped the blanket edges lay flat and it was easier to crochet.
6) Then all you do is crochet the edges.

 It turned out very nice and neat! This double fleece blanket is very warm! I found it to be intermediate in difficulty, mainly because there are no instructions on the internet on how to make the double fleece blanket. So I had to figure this stuff out on my own. Also being my 1st time making this there was a small learning curve. All in all I enjoyed it and now I know how to make it and will be ready next year for gifts!


Monday, October 10, 2011

Christmas Planner

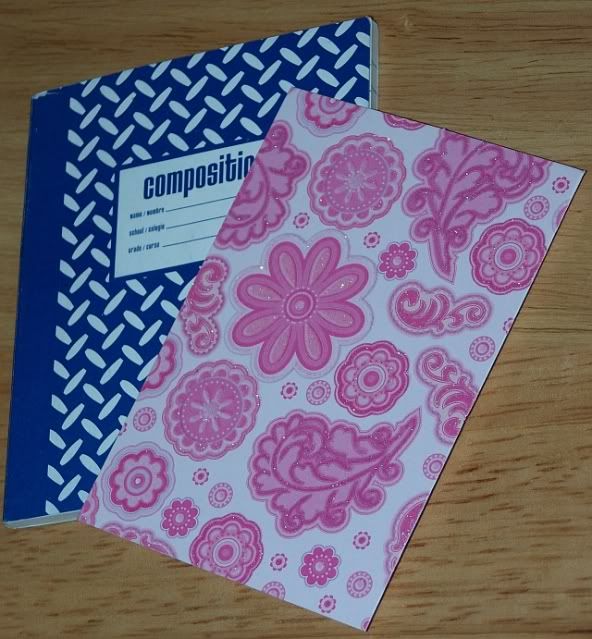
I am working on some christmas planners for gifts. I have had these compostion book for a long time when. I bought them when they were on sale at only 25 cents each. I decided to use up some of my scraps of scrapbook paper and embellishments this weekend. I came up with this, now if your my family this is a sneak peak of something you MAY get. I will be making all types of designs, so this won't actually be the one you may get. I thought I would post while I wait for the rain to die down, so I can do my grocery shopping today.

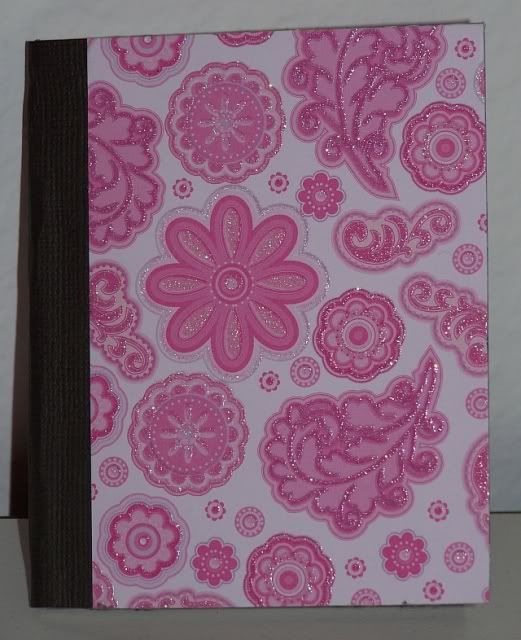
I took a composition book and altered it to this really useful Christmas planner.


To Make one of these:
You Need :
1) Composition notebook
2) Scrapbook pattern paper at least 8 1/2x 11 Size
3) Ribbon 1/2 yard
4) Cardstock Scraps
5) Embelishments
6) Strong glue runner, glue runner for lightweight paper and a strong liquid glue.
7) Sharps Scissors
8) Nail buffer or 180 grit nail file.

Instructions:
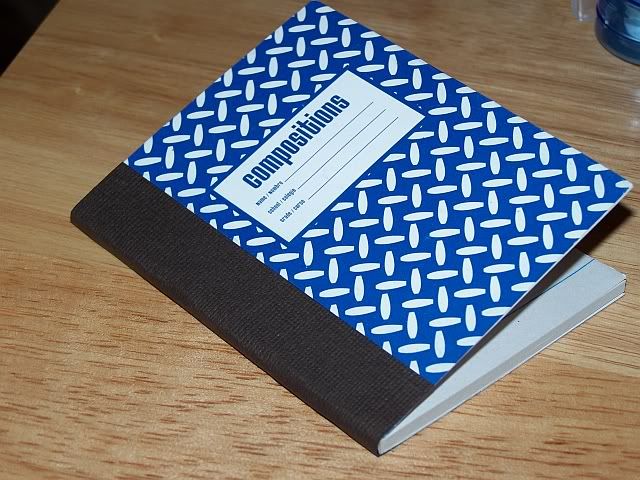
I did not cover the spine of the book. I did this so it would open and close freely.
1) Take an 81/2 by 11 pc of pattern paper and butt it up to the black binding on the front of the book.
2) Trace the pattern paper around the cover with a pencil to match the shape of the cover, trim it to size. It's ok to have a little overhang. I actually think it is better. You will be trimming that off after you glue that page down to the front of the book.
3) Adhere the patterned paper to the front cover, butting the paper up to the black spine edge.
With your scissors trim the paper close to the edge of the cover. With your nail buffer or file. Run the file down along the edge only going in one direction down on the paper for a smooth edge.
4) Adhere you ribbon  to the front with a dry glue runner, with about and inch over lapped to the back.
5) Cover your inside cover the same way, I used a solid peice of regular colored bond paper, but if you have lightweight pattern paper it it will do just fine. This will cover your ribbon overlap from the front side.
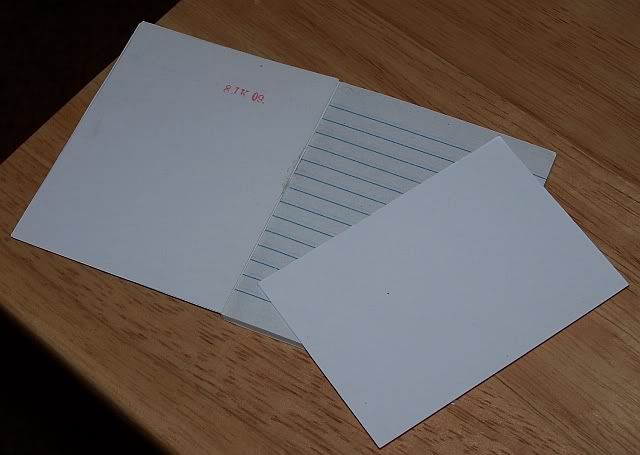
6)  Adhere a pocket on the front inside left. I used a christmas envelope. On the right side I added a printed calendar.


7) The tabs were a purchased item, I just labled them and glued them on with liquid glue.
I spearated the sections by using the colored bond paper.


8) The back inside and outside were done the same as the front.
I added a pocket with heavy duty cardstock.


The back the same paper as the front. *Note that I do not cover the spine of the book.

Tuesday, March 23, 2010

Altered Mini Notebook

It seems that every time I need something to write on while I am out, I find myself rummaging through my purse. I end up using a ripped piece of a deposit slip or writing on the back of a receipt. I was at the book store the other day and I saw really fancy mini notebooks. Hmm You know I thought I can do that! So tonight I was in a crafting mood, so I looked in my magic crafting stash box. Well I call it that because nothing that ever comes out of that box ever looks the same. It gets glitterfied or some other crafty technique.  I decided while I was making it that I would do a tutorial on how to make one and you can stop writing on those receipts.

You will need:

1- Mini notebook- 4 1/4 x 3inches
(I got a small pack of three at the dollar store)
2- Pcs of cardstock patterned paper- 4 1/4 x 3inches
2- Pcs of solid cardstock paper -4 1/4 x 3inches
1- piece of a contrasting color cardstock paper for the spine
  4 1/4x1 1/2 inches
1-Glue tape runner or other strong adhesive

1) Measure your book and cut your patterned cardstock to match the front and back pages of the book.


2) Optional* If your patterned paper is thin you can reinforced the thickness of the front and back flap by using a thin chipboard on the inside of the front and back page, before you begin.


3) Cut the strip for your spine. I did mine in a solid color.


4) Glue the cardstock strip to the spine of the book, try to make sure the front and back of the book have the same amount of cardstock strip.


5) Glue the patterned cardstock to the front cover and to the back cover of your notebook, being very careful to line up the edges.


6) Glue coordinating cardstock panels to the inside front flap and inside back flap.
7) There you are! Easy Peasy! You can decorate your book cover further. I didn't because the cover paper was already really pretty.